

5 minutes read
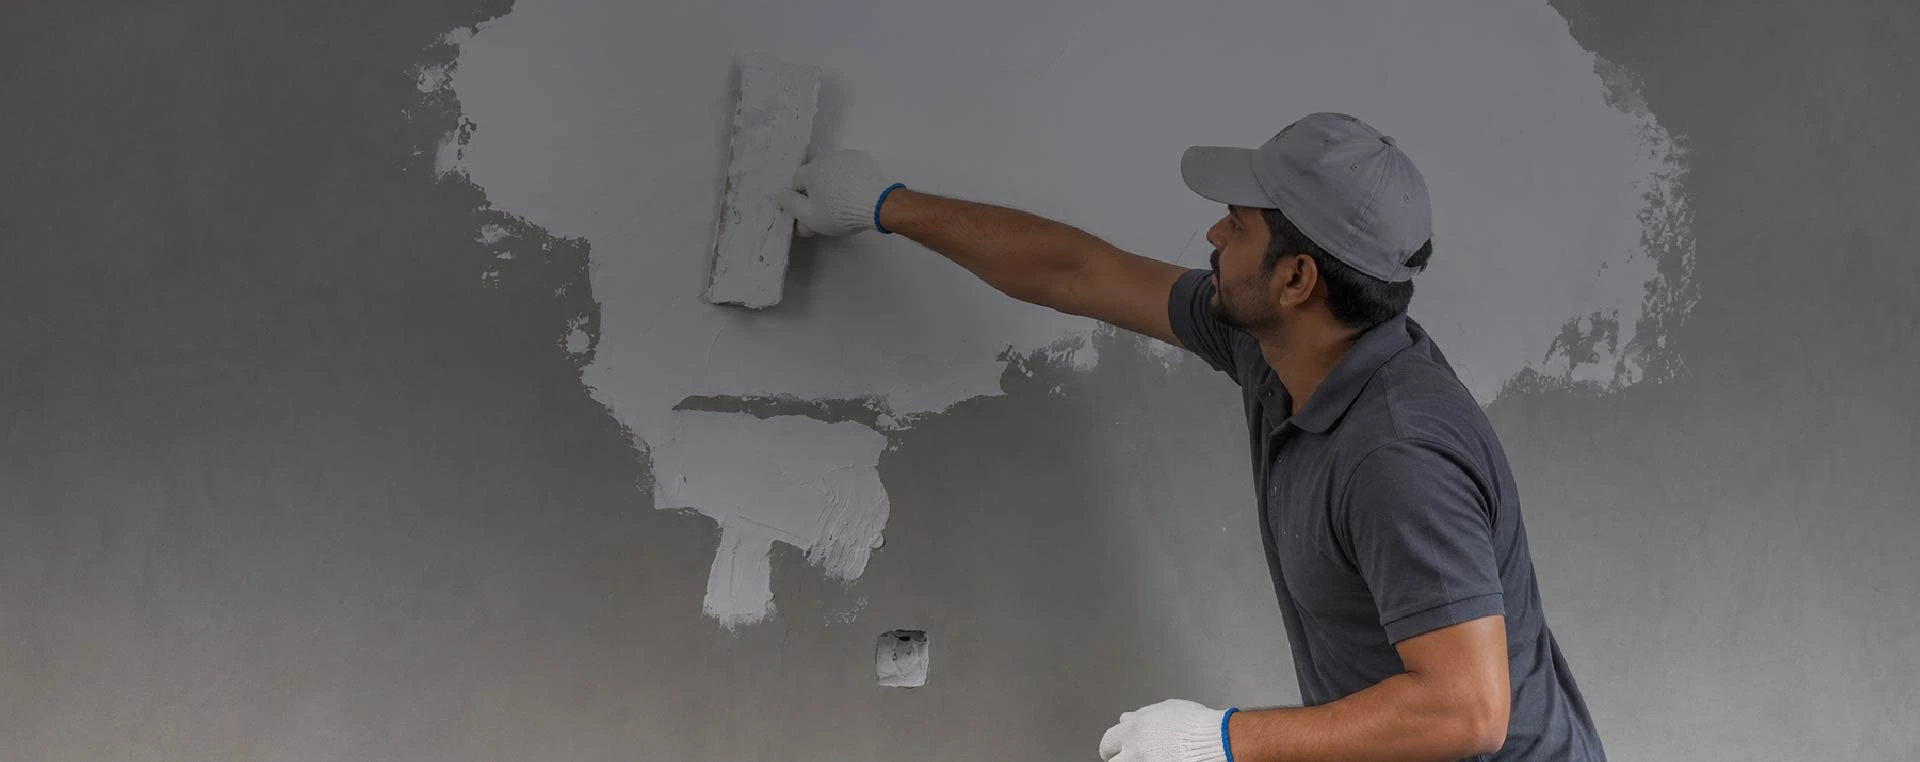
Paint can only look as good as the wall beneath it. Even a fresh coat of premium paint shows every pore, wave and hairline crack on a plastered surface, and it can flake early if moisture gets behind it. Wall putty solves both problems. This guide explains the types of wall putty, when to use each one and how to apply wall putty before painting.
Wall putty is a fine white powder that you mix with water and apply in thin coats over plaster. Once dry, it forms a smooth skin that fills small pores and cracks, improves paint adhesion and reduces how much paint the wall absorbs. Skipping it, or choosing the wrong one, is a common reason for uneven shades, peeling and damp patches.
|
Type |
Best for |
Limitation |
|
Cement-based |
Interior and exterior walls, including damp-prone areas |
Needs mixing with water |
|
Acrylic |
Dry interior walls and quick jobs |
Not ideal for exteriors or damp areas |
|
Gypsum or POP |
Interior walls and ceilings |
Poor moisture resistance |
Choose waterproof wall putty wherever moisture is a constant threat, such as bathrooms, kitchens, coastal homes and damp-prone exterior walls. BirlaNu TruColour Waterproof Putty uses a white cement base with hybrid silane-silicone chemistry, which creates a water-repellent surface that resists peeling, damp patches and fungal growth. It helps manage dampness, but it cannot fix an active leak, so repair the source first.
When people search for colour putty for walls, they usually want vibrant, true-to-shade paint. BirlaNu TruColour Putty is not tinted. It is engineered with TruColour Technology to give a pure white base that lets your chosen shade appear as it does on the colour card. TruColour Putty Plus adds superior whiteness and an ultra-smooth finish for premium results.
Always follow the mixing ratio and drying times printed on the pack, as these vary by product.
|
Product |
Best for |
Pack sizes |
|
TruColour Putty |
Pure white, true-shade base on interior and exterior walls |
1, 5, 10, 20, 30 and 40 kg |
|
TruColour Putty Plus |
Premium whiteness and ultra-smooth finish |
1, 5, 10, 20, 30 and 40 kg |
|
TruColour Waterproof Putty |
Bathrooms, kitchens and coastal zones |
1, 5, 20, 30 and 40 kg |
|
TruColour Texture Putty |
Exterior and semi-exposed textured finishes |
25 kg |
|
Coarse Putty |
Levelling uneven interior and exterior walls |
20, 30 and 40 kg |
A flawless paint finish begins before the first coat of colour. Match the putty to the wall, whether that means waterproof for wet zones, texture for exteriors, coarse for uneven surfaces or TruColour for a true-shade base. Then prepare the surface, apply thin coats and let each one dry. Explore the full range at birlanu.com/putty and give your walls the foundation they deserve.
What are the types of wall putty?
Wall putty comes in cement-based, acrylic and gypsum types. By use, BirlaNu offers regular, waterproof, texture and coarse putty, each suited to different surfaces, moisture levels and finishes.
Which wall putty is best for bathrooms and kitchens?
Waterproof wall putty is best for humid areas. BirlaNu TruColour Waterproof Putty has a white cement base with silane-silicone chemistry that helps resist peeling, damp patches and fungal growth.
How many coats of wall putty are needed before painting?
Two thin coats usually give a smooth, uniform surface. Let each coat dry fully, sand lightly and then apply primer and paint.
Can I apply wall putty directly on bricks or concrete?
No. Apply putty on a well-prepared plastered surface for the best bond and finish.
The latest
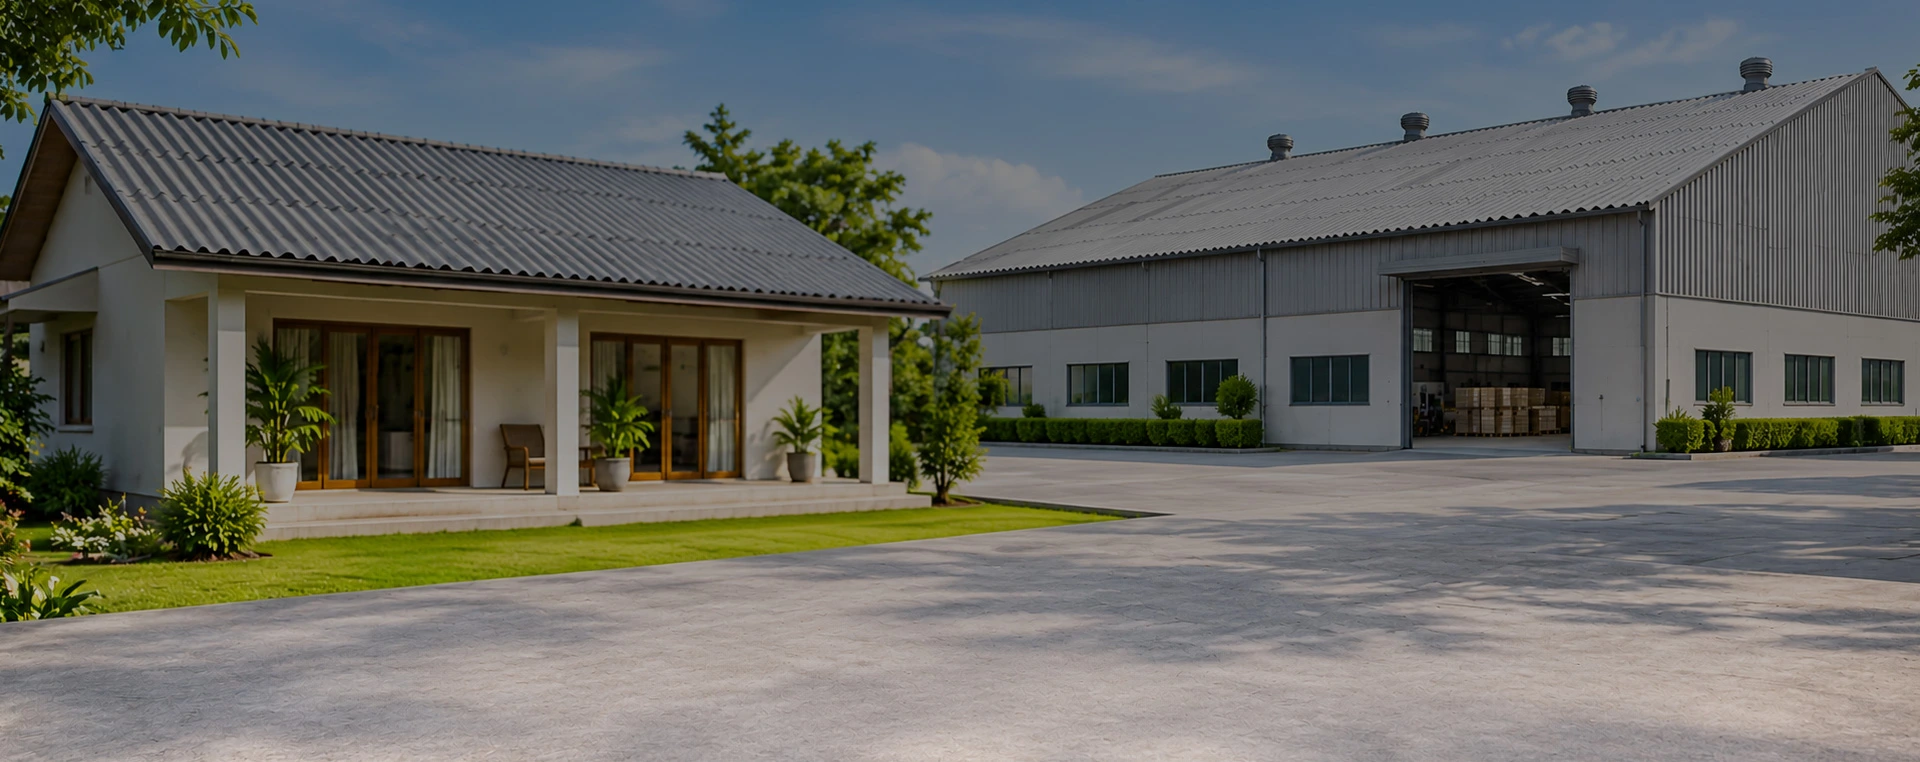
Everything you need to choose, compare and install asbestos-free roofing for homes, farms and factories
17/11/2026
5 minutes read
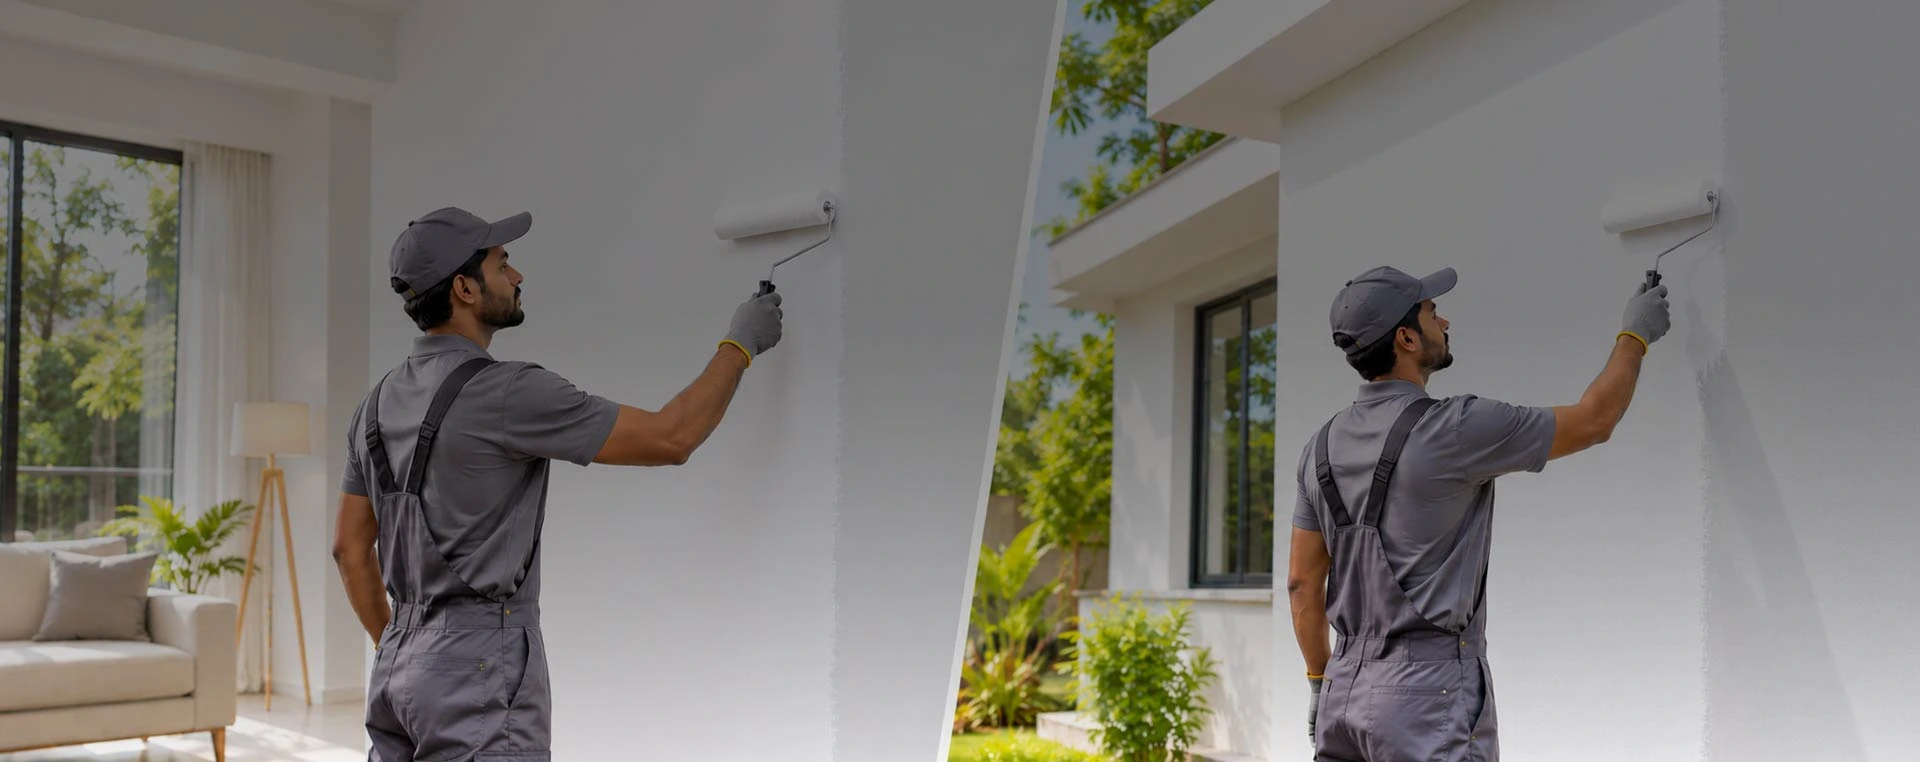
Match the primer to the wall’s location, exposure and condition for paint that sticks, looks even and lasts.
17/11/2026
4 minutes read
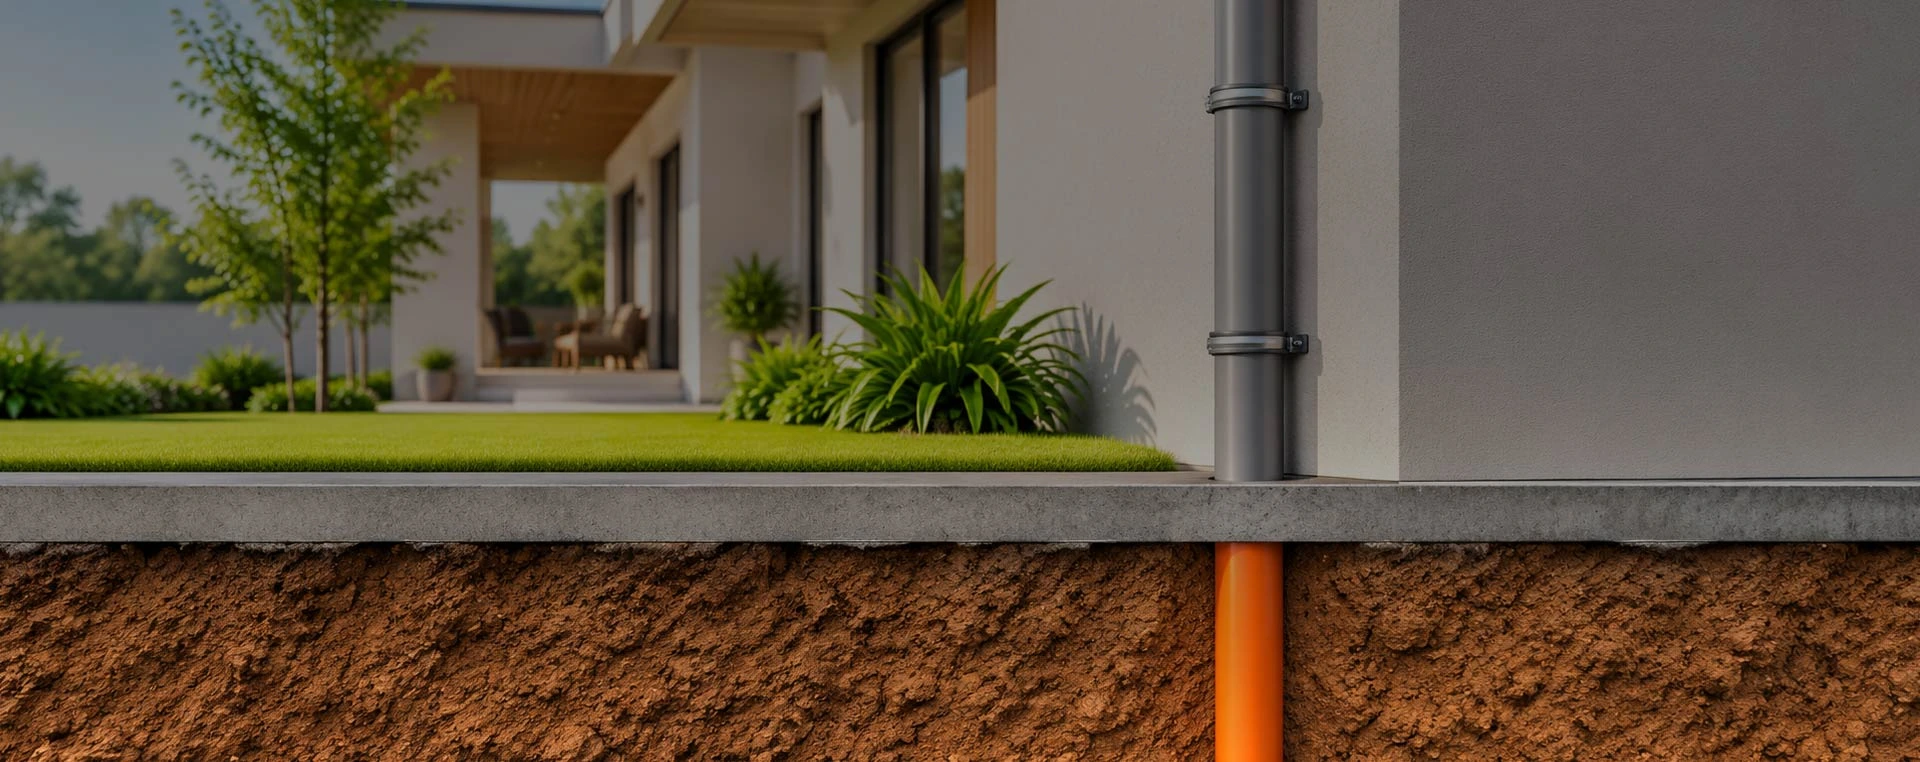
Understand the causes of drainage failures and choose pipes and fittings built to prevent them.
13/11/2026
5 minutes read
Everything you need to choose, compare and install asbestos-free roofing for homes, farms and factories
- - 17/11/2026
Match the primer to the wall’s location, exposure and condition for paint that sticks, looks even and lasts.
- - 17/11/2026
Understand the causes of drainage failures and choose pipes and fittings built to prevent them.
- - 13/11/2026
Compare flexibility, jointing, cost and installation to choose the right pipe from borewell to field
- - 10/11/2026
