Key takeaways
- Paint is only as good as the surface beneath it, so preparation matters as much as the paint itself
- Wall putty fills cracks and levels the surface, while primer seals it and helps paint bond
- Acrylic putty suits dry interiors, while cement-based putty handles both interior and exterior walls and moisture better
- Thin coats, full drying time and light sanding make a visible difference to the final finish
- BirlaNu offers both putty and primer, so the whole preparation process can come from one range
Most people judge a paint job by the colour they see on the wall. What they rarely think about is the work underneath it. A wall that has not been prepared properly can turn even the best paint into a patchy, peeling mess within a season or two, and repainting costs far more than doing the preparation right the first time.
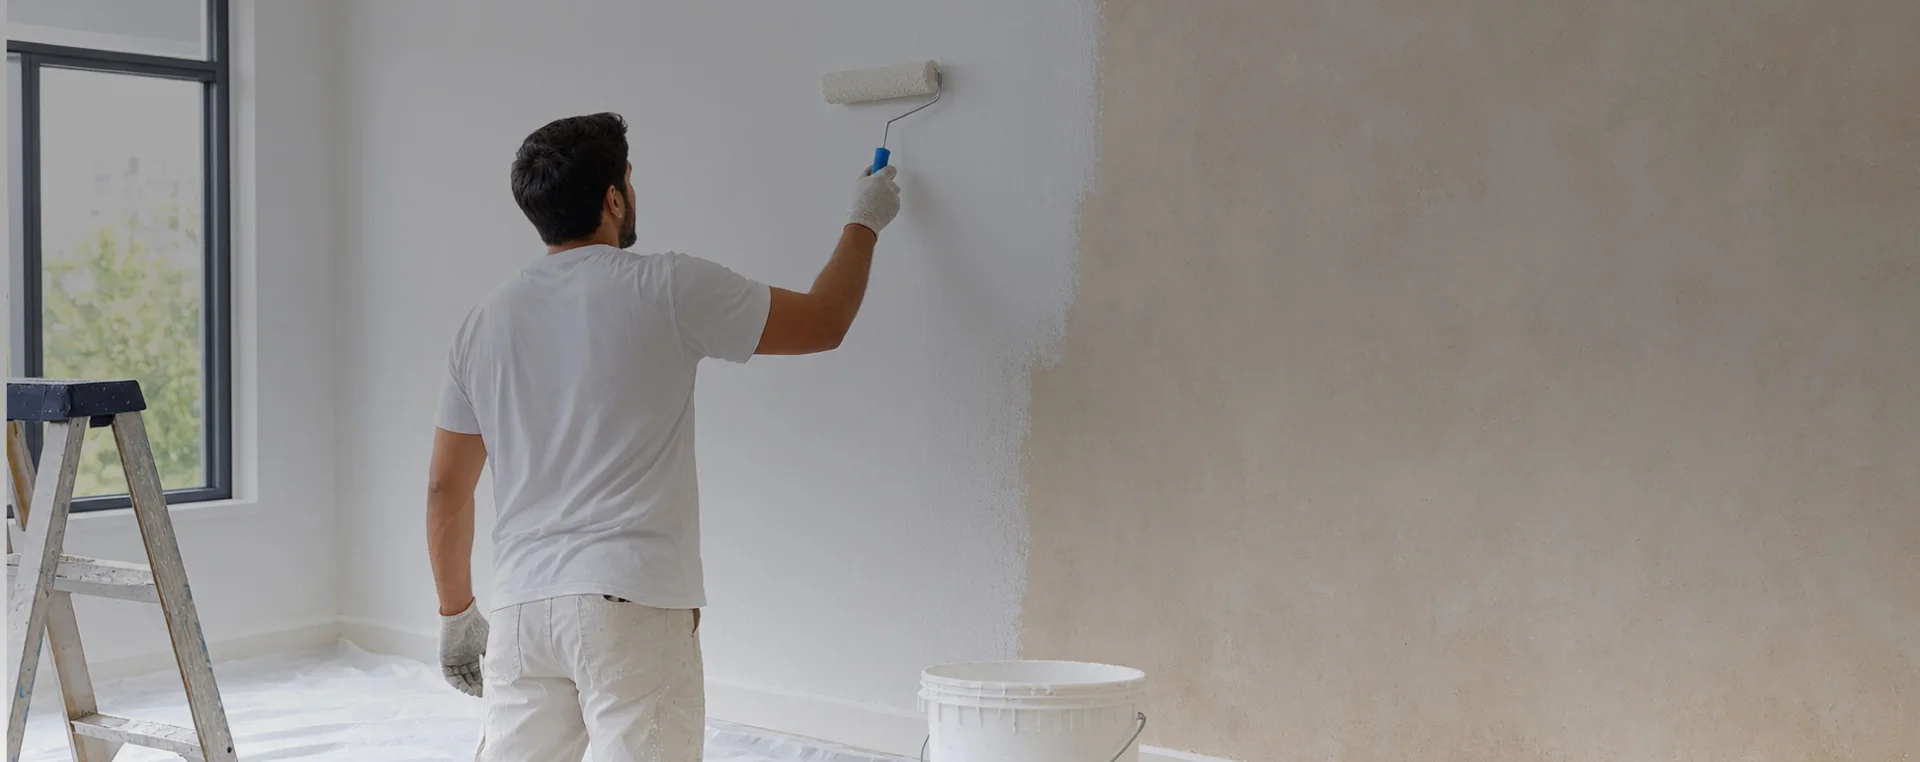
Wall preparation decides how smooth the finish looks and how long it lasts. It involves cleaning, repairing, levelling and sealing the surface, and two products do most of the work: wall putty and primer.
Here is why each step matters and how to get it right.
Why paint fails without proper preparation
Paint sits on the surface of a wall, so it can only be as good as that surface. If the wall is dusty, damp, cracked or uneven, the paint has nothing solid to hold on to. Indian weather makes this worse, with heavy monsoon moisture, strong summer heat and walls that expand and contract through the year.
Common problems that trace back to poor preparation include:
- Flaking and peeling, caused by weak bonding between paint and wall
- Visible cracks and rough patches showing through the finish
- Patchy colour, where paint soaks in unevenly
- Damp stains and blistering, especially on exterior walls
- Faded shades, when the base is not clean or bright enough
What good wall preparation looks like
A proper preparation job follows a clear order, and skipping any step usually shows up later.
- Clean the wall: remove dust, grease, loose paint and any algae using a wire brush or sandpaper
- Repair cracks and holes: fill them so the surface is sound before finishing
- Level uneven areas: use a coarse base coat where plaster is rough or undulated
- Apply wall putty: two thin coats give a smooth, even base
- Sand lightly: once dry, rub down for a glass-smooth surface
- Apply primer: seal the wall and prepare it to hold paint
- Paint: only once everything is fully dry
Wall putty and acrylic putty: what is the difference
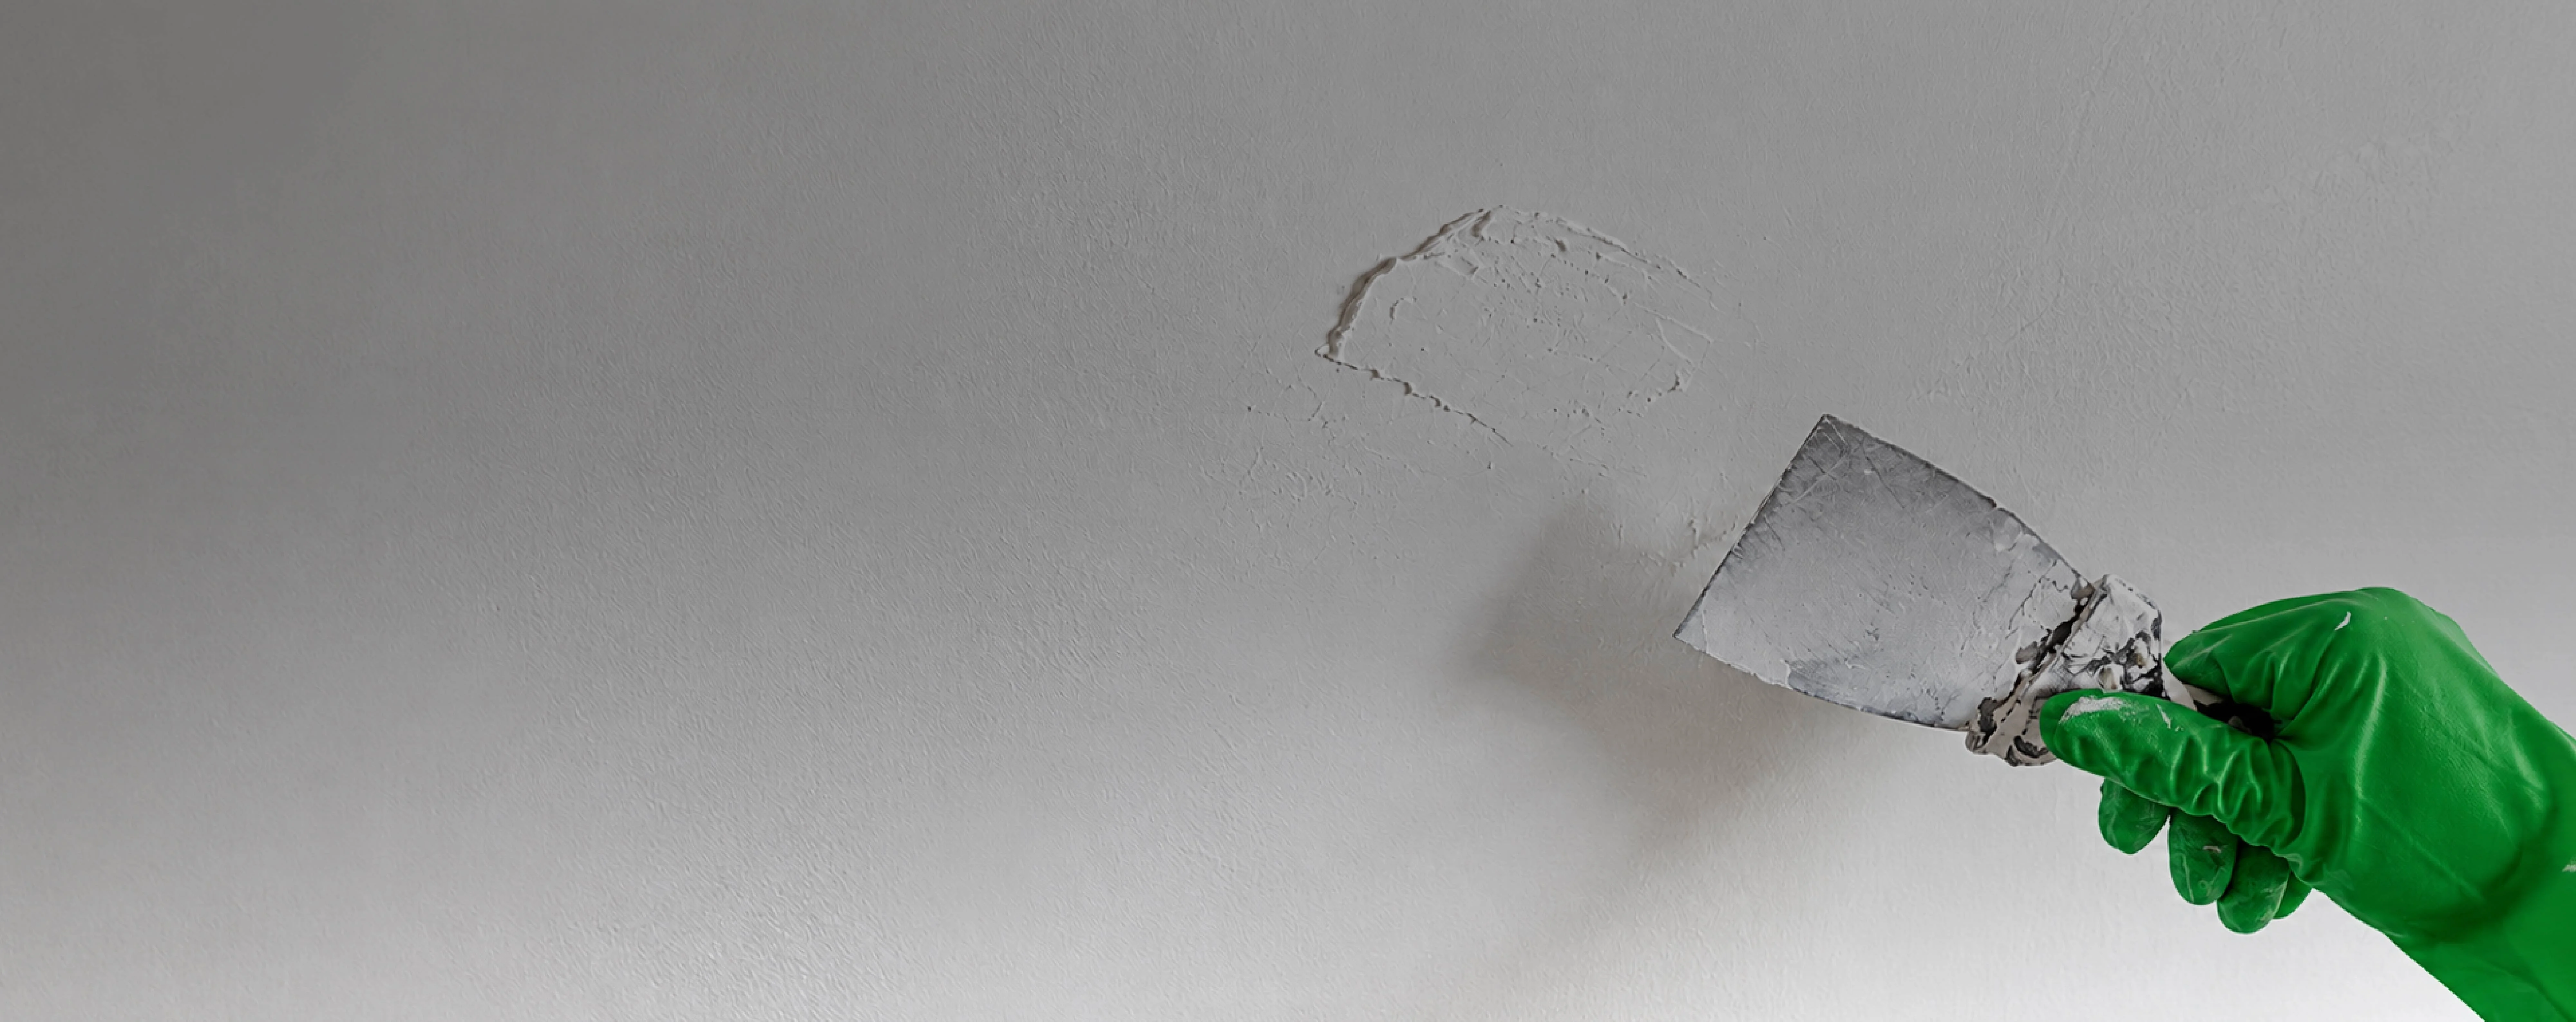
Wall putty fills small pits and hairline cracks and creates the smooth layer that paint needs. Two types are common in India.
Acrylic putty is made with acrylic binders and is usually used on dry interior walls. It spreads easily, but it does not handle moisture well, which makes it a poor fit for exteriors or damp areas.
White cement-based putty is made with white cement, polymers and minerals. It bonds strongly, resists moisture and works on both interior and exterior walls, which is why it is the more popular choice for long-lasting finishes.
The right pick depends on the wall. For a dry interior room, either can work. For walls that face rain, humidity or temperature swings, cement-based wall putty is usually the safer bet.
Why primer completes the job
Many people skip primer to save time, but it does two important jobs. It seals the surface so paint does not soak in unevenly, and it creates a bond between the putty and the topcoat. Without it, paint tends to get used up faster and peel sooner.
Primer also helps the final colour look even, particularly when repainting over darker shades. A water-based acrylic cement primer is a good all-round choice for walls, while metal surfaces such as grilles and gates need a dedicated anti-corrosive primer.
What to check before you start:
- Make sure the wall is completely dry before applying anything
- Choose your putty by exposure: interior, exterior or moisture-prone
- Apply thin coats rather than one thick layer, which can crack while drying
- Let each coat dry fully before sanding or moving on
- Use putty and primer from the same trusted maker so they work well together
Why BirlaNu covers both steps
BirlaNu brings both parts of wall preparation into one range. The
BirlaNu putty range is white cement-based and blended with polymers and minerals. TruColour Putty gives a bright, dry finish that lets your paint show its true shade, and it is a certified green product with zero VOCs. The wider range covers most wall conditions:
- CoverMax Putty for high coverage
- TruColour Waterproof Putty for damp-prone walls
- TruColour Texture Putty for exterior finishes
- Coarse Putty for levelling uneven surfaces
You can explore the full range at
birlanu.com/putty/trucolour-putty
On the primer side, BirlaNu Primers cover interiors, exteriors and metal. The Universal Primer is a water-based acrylic cement primer for both interior and exterior walls, and dedicated Interior and Exterior Primers are available for specific needs. For metal surfaces, the
Red Oxide primers and Yellow Metal primers add anti-corrosive protection. Used together, BirlaNu putty and primer give paint a strong, smooth base to hold on to for years.
Conclusion
A smooth, long-lasting paint finish is built well before the first coat goes on. Cleaning, repairing, applying the right wall putty and sealing with a good primer are what stop peeling, cracking and patchy colour from showing up later. Choose products that suit your wall's exposure and follow the steps in order, and your paint will look better for longer.
FAQs
Do I need both wall putty and primer before painting, or can I paint directly after sanding?
Putty and primer perform different jobs, so sanding alone does not replace them. Putty levels minor imperfections, while primer helps seal the prepared surface and provides a more uniform base for the paint.
My wall gets damp during the monsoon - which type of wall putty should I use before painting?
For moisture-prone walls, look for a cement-based putty with water-resistant or waterproof properties rather than choosing solely on interior/exterior classification.
BirlaNu TruColour Waterproof Putty, for example, is formulated for wet and humid areas including bathrooms, kitchens and coastal zones.
What is the difference between acrylic putty and cement-based putty, and which one should I choose for my walls?
Acrylic putty is commonly used for interior wall applications, while cement-based putty is suited to a wider range of masonry applications, including exterior walls. Your choice should depend on the wall surface, exposure to moisture and the product’s specified application area.
Why does my wall still look patchy after painting even though I used good-quality paint?
Patchy paint can result from uneven surface absorption, poor preparation or inadequate priming rather than the topcoat alone. A properly levelled and primed surface helps create more consistent paint coverage and colour.
I’m repainting a wall with cracks, dents and peeling paint - what should I do before applying putty?
First remove loose paint, dust and damaged material, then repair cracks and surface defects before applying putty. The wall should be clean, sound and appropriately dry before the next preparation step.