


4 minutes read
A smooth, long-lasting paint finish does not start with paint. It starts with the right surface preparation, and that is where wall putty plays a critical role. Acting as the base layer, wall putty helps create an even surface, improves paint adhesion, and enhances durability.
However, even high-quality wall putty can fail if not applied correctly. Peeling, cracks, uneven texture, and poor finish are often the result of avoidable mistakes during preparation and application.
Understanding these issues can help ensure a better, more durable wall finish.
Wall putty failure is rarely due to the product alone. In most cases, it is caused by improper application, poor surface conditions, or incorrect techniques.
Here are the most common mistakes that affect performance:
One of the biggest reasons for wall putty failure is applying it on an unprepared surface.
Common issues include:
These factors prevent proper bonding between the surface and the putty, leading to peeling or flaking over time.
Best practice:
Ensure the surface is clean, dry, and structurally sound before applying wall putty.
Wall putty requires proper mixing to achieve the right consistency.
What goes wrong:
Improper mixing directly affects adhesion and smoothness.
Best practice:
Follow the manufacturer’s recommended mixing ratio and ensure a lump-free, consistent paste.
Application technique plays a major role in the final finish.
Common mistakes:
This can result in visible patches, poor levelling, and an inconsistent surface.
Best practice:
Apply wall putty in thin, even coats and allow proper drying time between layers.
Environmental conditions significantly impact wall putty performance.
Risk factors include:
Moisture, in particular, weakens adhesion and can lead to bubbling or peeling.
Best practice:
Apply wall putty in dry conditions and ensure the wall is free from moisture before application.
A common mistake is moving directly from putty to paint without priming.
Why this matters:
Skipping this step can lead to patchy paint and reduced lifespan.
Best practice:
Always apply a suitable primer after wall putty and before painting.
The quality of materials directly affects the outcome.
Best practice:
Choose reliable wall putty solutions that are designed for consistent performance and compatibility with modern paint systems.
BirlaNu wall putty solutions are developed to support smooth finishes, strong adhesion, and long-term durability, helping reduce common application issues when used correctly.
Common Mistakes to Avoid
Avoiding these mistakes significantly improves finish quality.
Why is my wall putty peeling after painting?
Wall putty usually peels due to poor surface preparation, moisture in the wall, or improper application. Ensuring a clean and dry surface helps prevent this issue.
How can I get a smooth finish with wall putty?
Use properly mixed putty, apply it in thin and even layers, and allow sufficient drying time between coats. Sanding between layers can also improve smoothness.
What is the purpose of wall putty before painting?
Wall putty creates a smooth and even surface, improves paint adhesion, and enhances the durability of the paint finish.
Can wall putty be applied on damp walls?
No, wall putty should not be applied on damp surfaces as moisture weakens adhesion and can lead to peeling or bubbling.
Is primer necessary after applying wall putty?
Yes, primer is essential as it improves paint adhesion, ensures uniform finish, and increases the lifespan of the paint.
The latest
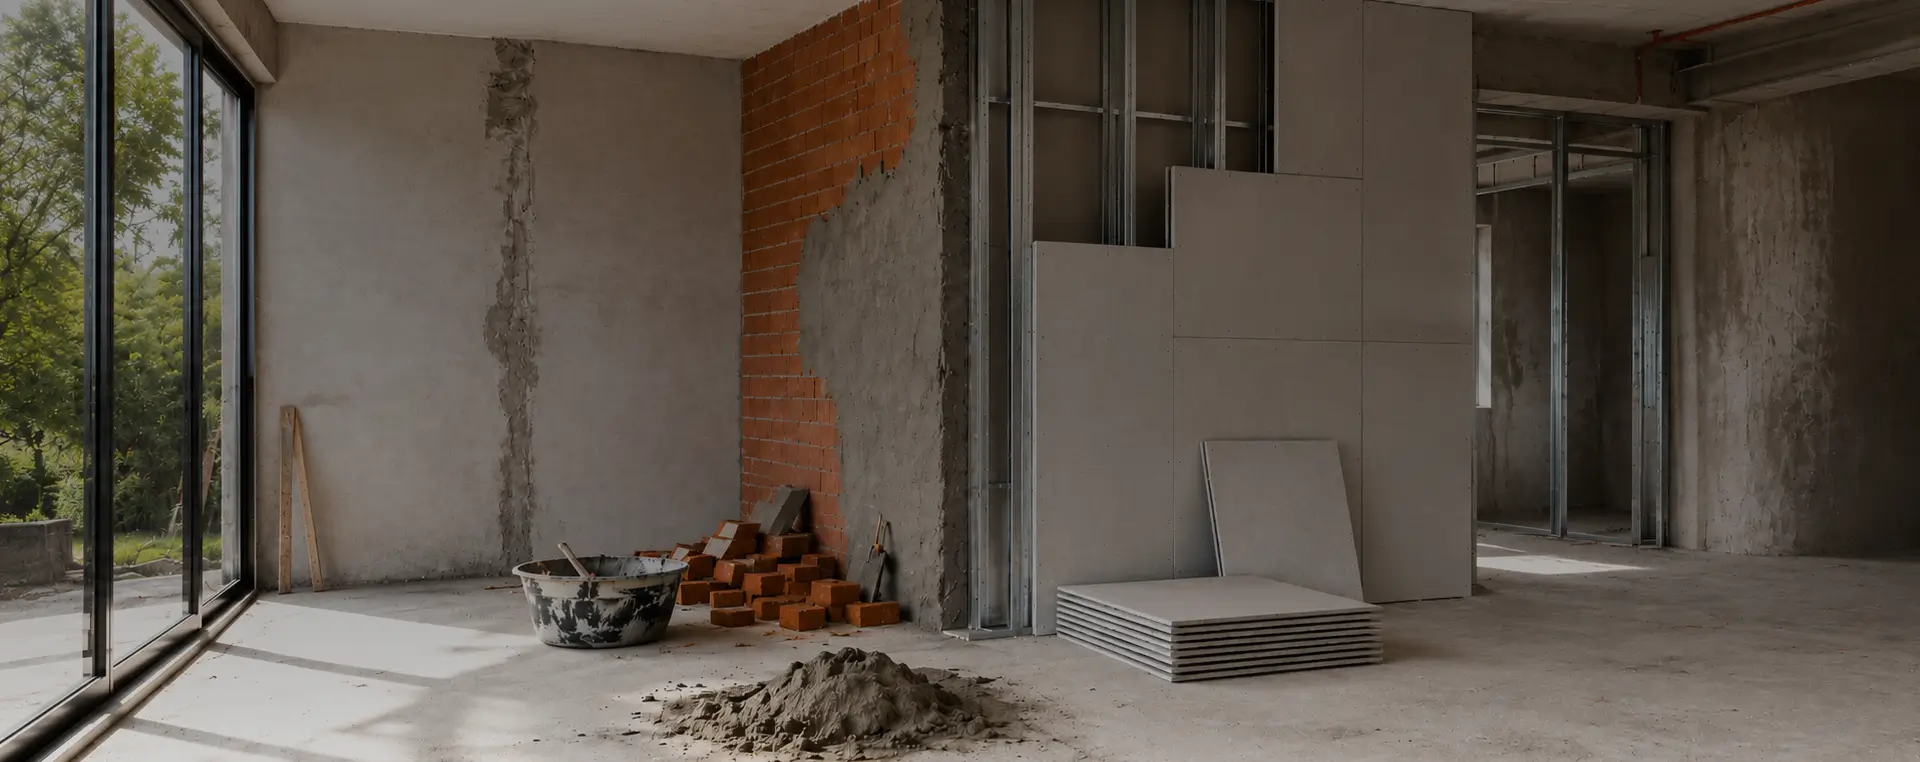
Avoid common wall construction mistakes with smarter building solutions. Learn when to use fibre cement boards and ensure durable, high-quality finishes.
23/07/2026
9 minutes read
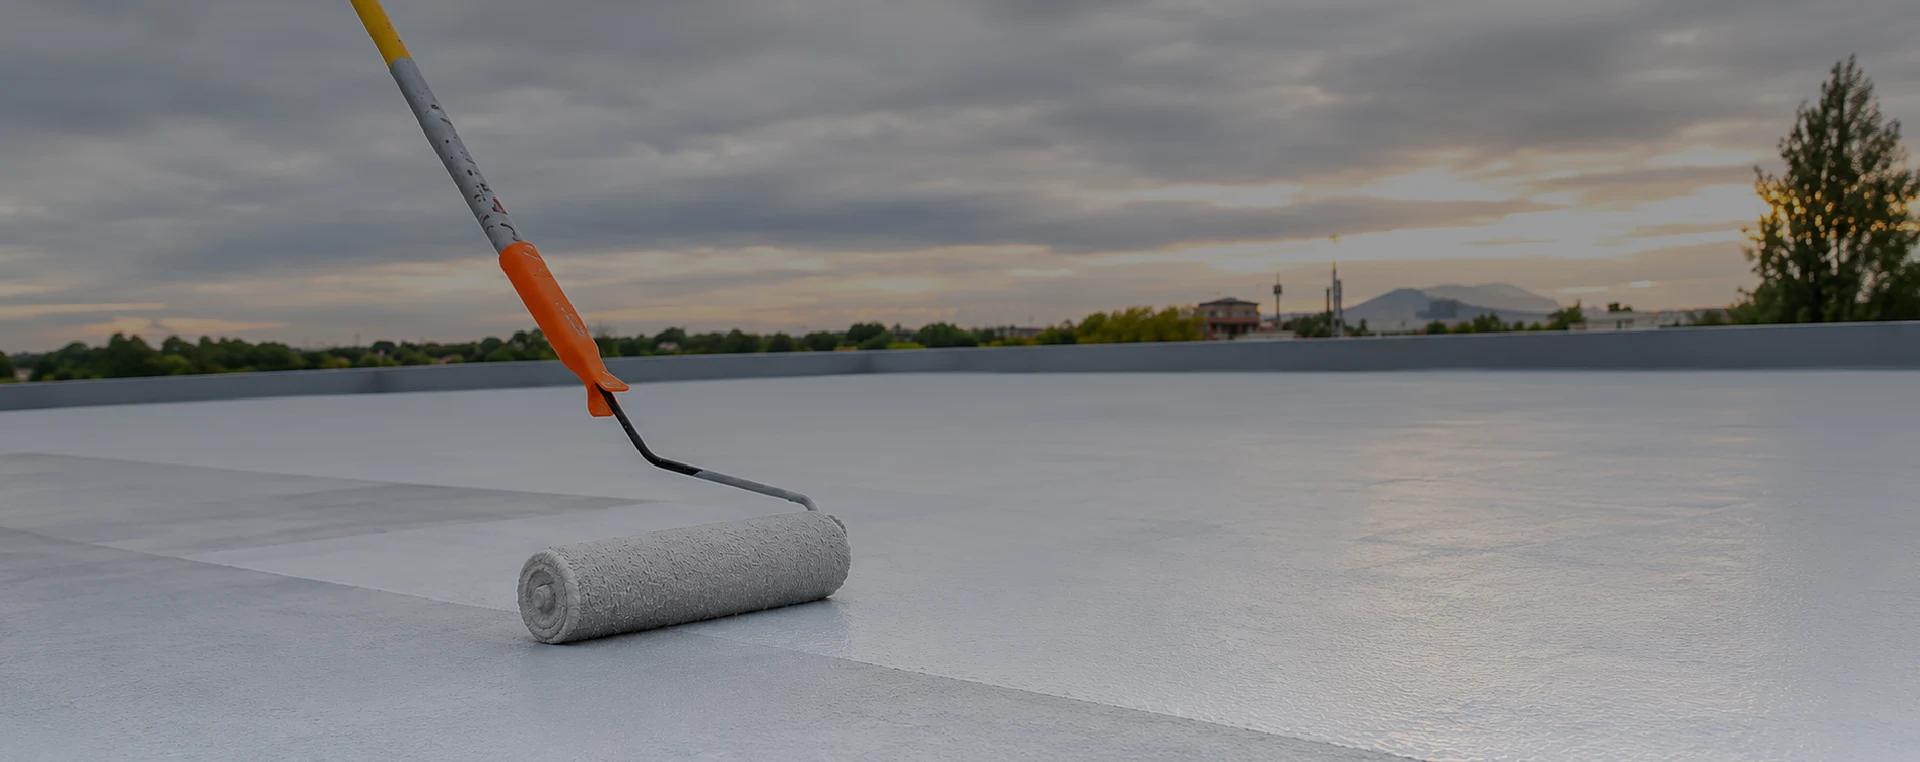
The essential waterproofing solutions for lasting protection.
23/07/2026
7 minutes read
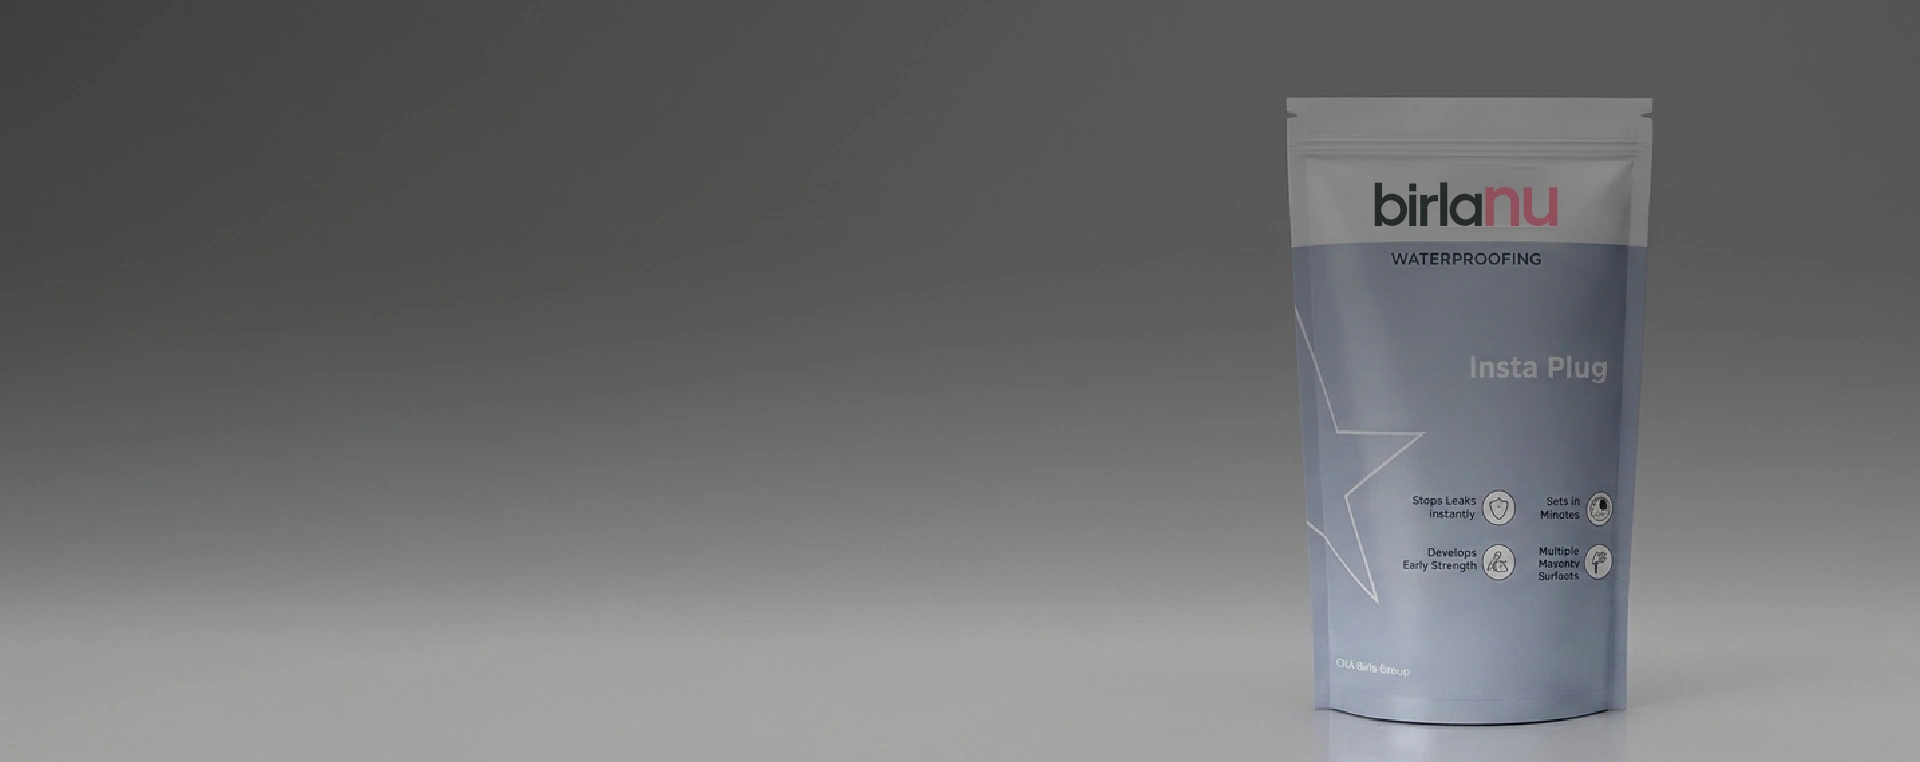
A fast solution for active leaks and seepage under pressure.
14/07/2026
7 minutes read
Avoid common wall construction mistakes with smarter building solutions. Learn when to use fibre cement boards and ensure durable, high-quality finishes.
- - 23/07/2026
The essential waterproofing solutions for lasting protection.
- - 23/07/2026
A fast solution for active leaks and seepage under pressure.
- - 14/07/2026
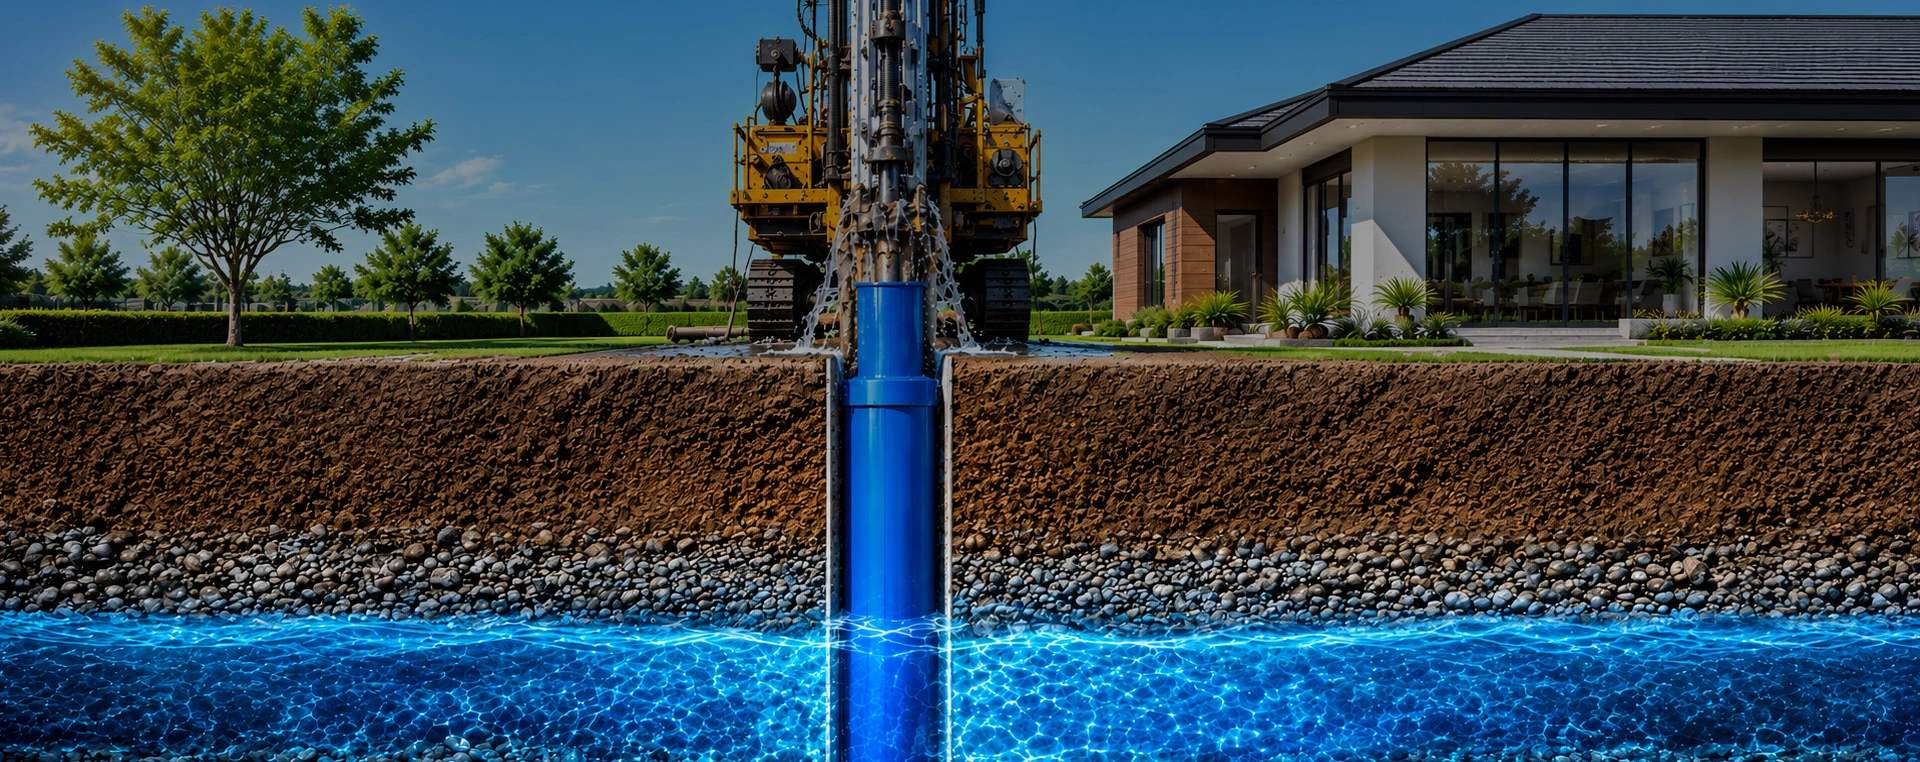
Ensuring borewell stability, durability, and reliable water extraction.
- - 14/07/2026